RV-STAR开发板上使用的是一个双端口的FT2232串口转USB芯片,其中一个端口用于JTAG调试,另一个端口用于建立开发板到电脑的串口连接。
通常情况下,Windows系统会自动为其安装正确的串口驱动,而如果我们使用最新版本的Nuclei Studio IDE对RV-STAR进行开发,其内置的OpenOCD是免驱的,也不需要用户手动安装JTAG调试驱动,即可正常对RV-STAR进行开发。
但有些时候,Windows系统并不能自动安装正确的串口驱动,进而影响到IDE的程序烧写和串口连接功能。另外,有些用户使用PlatformIO IDE进行开发也遇到相似问题,经实验,可尝试用下述方法予以解决:
详细图文流程如下:
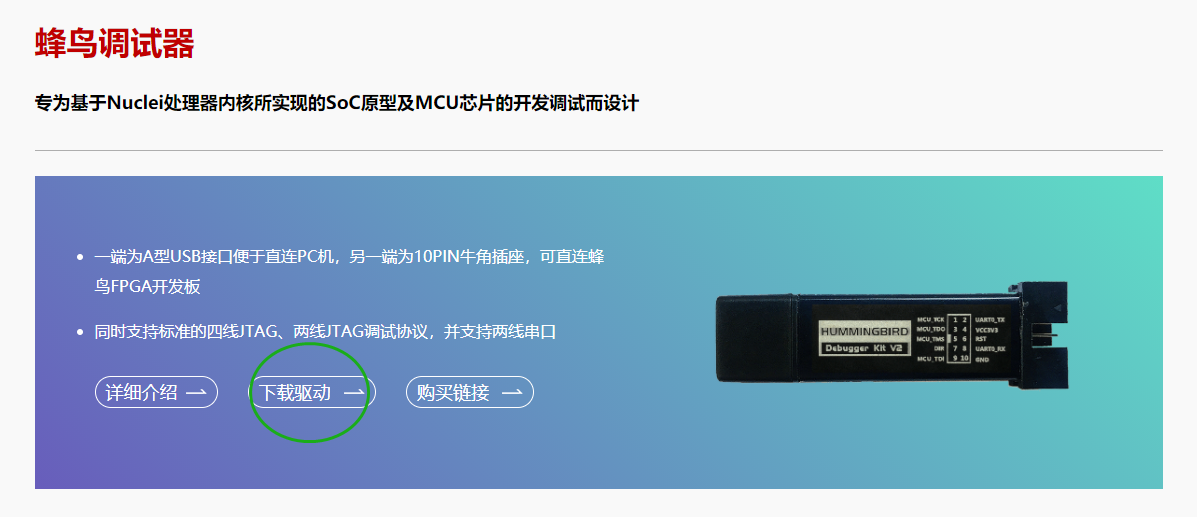
在芯来官网开发板页面(https://nucleisys.com/developboard.php)最下方找到蜂鸟调试器驱动进行下载:
在FT2232芯片官网(https://ftdichip.com/drivers/d2xx-drivers/)根据你的系统版本(32位 or 64位)下载驱动程序压缩包并解压(记住文件路径):

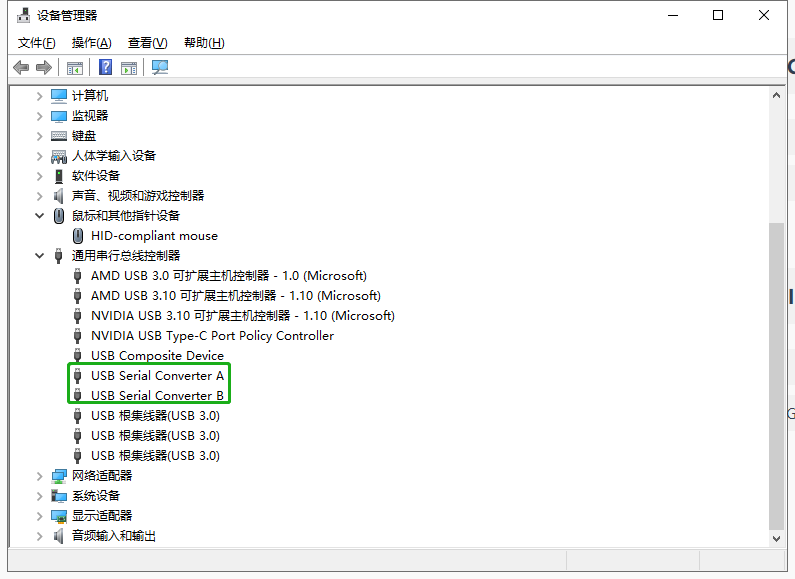
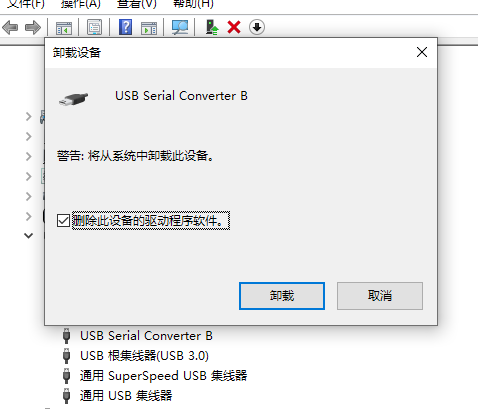
连接开发板,在设备管理器中找到新增的两个串行设备,右键“卸载设备”,并勾选“删除驱动”(两个都卸载)
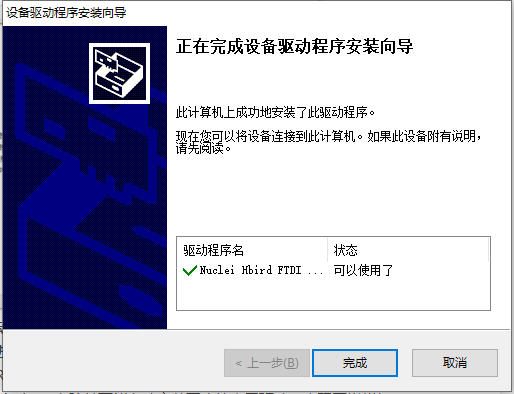
然后断开板子,安装hbird_driver.exe蜂鸟调试器驱动
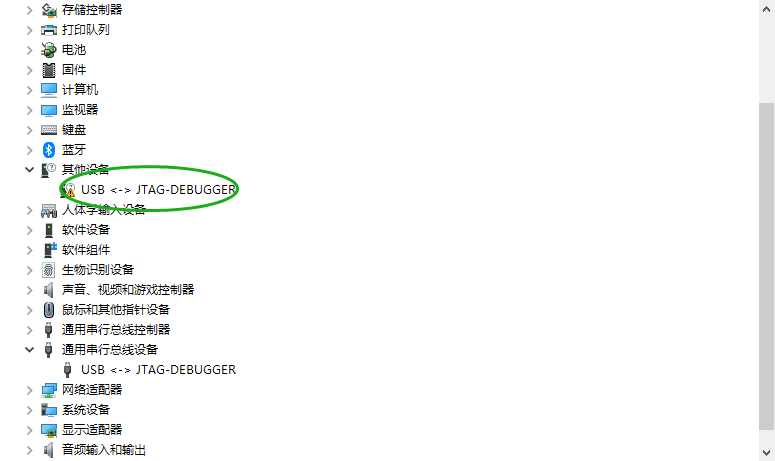
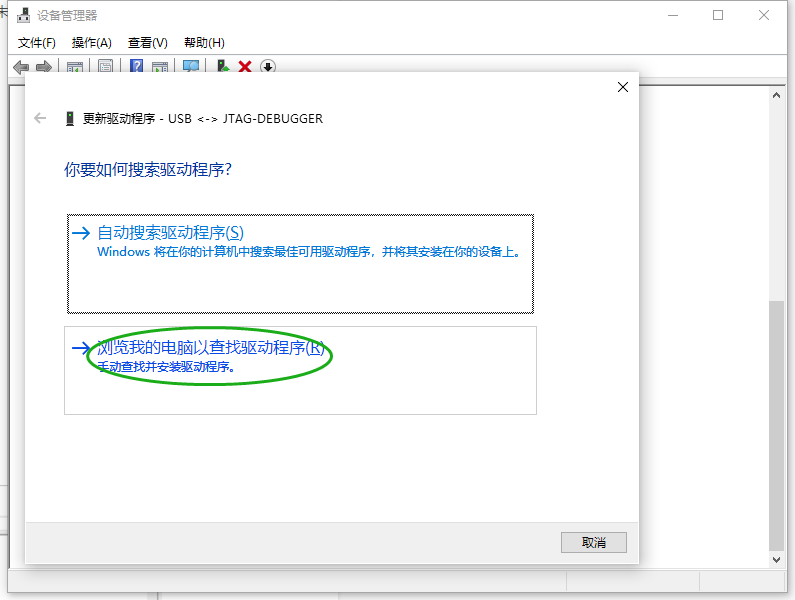
安装完成后,连接开发板,打开设备管理器,找到FT2232未被正确识别的端口对应的设备,右键选择“更新驱动程序”,然后选择“浏览我的电脑”以查找驱动程序
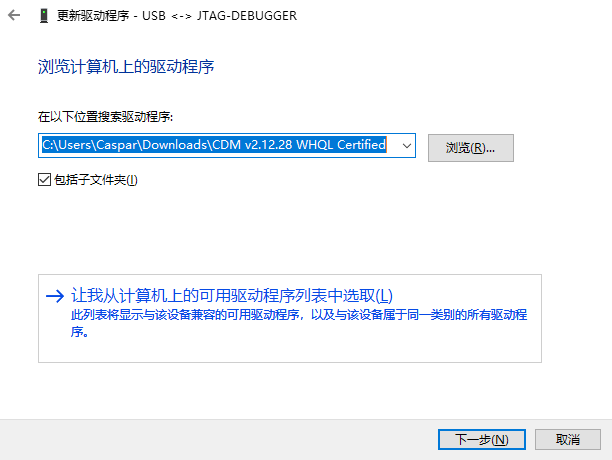
在位置中选择你刚刚下载的FT2232串口驱动程序的解压目录
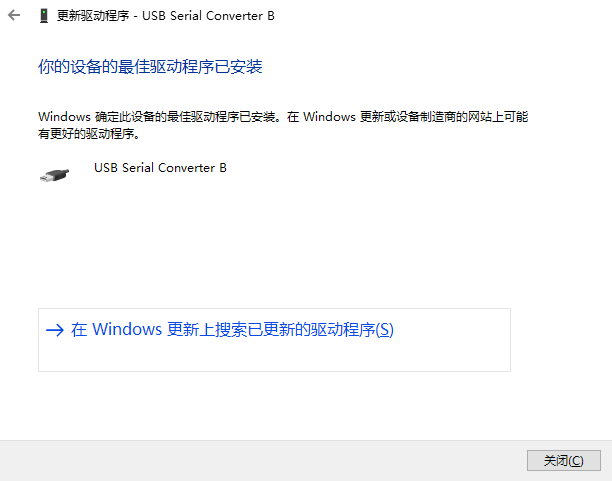
安装完成,此时设备管理器中会显示一个JTAG Debugger和一个USB Serial Port(USB Converter B),参照下图
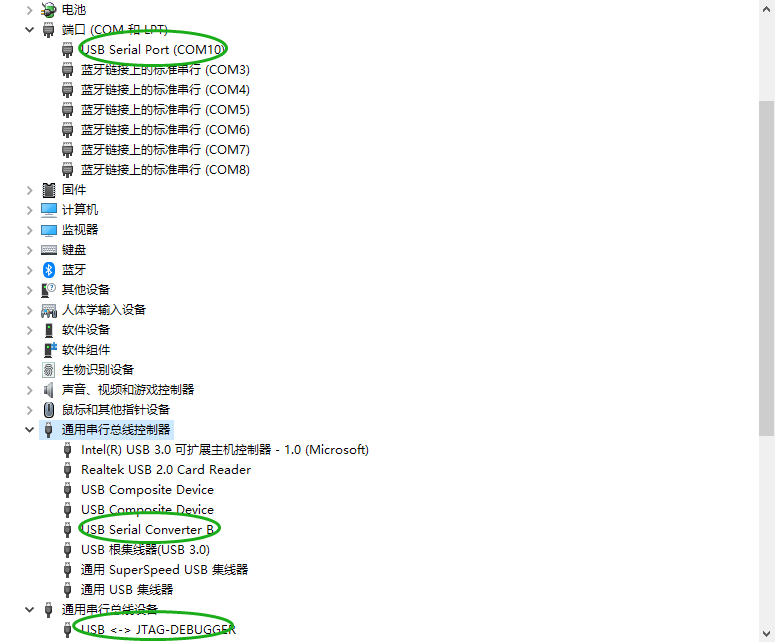
然后就可以在NucleiStudio IDE或PlatformIO IDE中正常上传调试代码和连接串口啦~