


喜欢11次
git clone https://github.com/SI-RISCV/e200_opensource.git
RUN_DIR := ${PWD}
TESTCASE := ${RUN_DIR}/../../riscv-tools/riscv-tests/isa/generated/rv32ui-p-addi
DUMPWAVE := 1
VSRC_DIR := ${RUN_DIR}/../install/rtl
VTB_DIR := ${RUN_DIR}/../install/tb
TESTNAME := $(notdir $(patsubst %.dump,%,${TESTCASE}.dump))
TEST_RUNDIR := ${TESTNAME}
RTL_V_FILES := $(wildcard ${VSRC_DIR}/*/*.v)
TB_V_FILES := $(wildcard ${VTB_DIR}/*.v)
# The following portion is depending on the EDA tools you are using, Please add them by yourself according to your EDA vendors
SIM_TOOL := vcs#To-ADD: to add the simulatoin tool
#SIM_TOOL := iverilog # this is a free solution here to use iverilog to compile the code
SIM_OPTIONS := -timescale=1ns/1ns -fsdb -full64 -R +vc +v2k -sverilog -debug_all -P ${LD_LIBRARY_PATH}/novas.tab ${LD_LIBRARY_PATH}/pli.a -l vcs.log +incdir+${VSRC_DIR}/core/+${VSRC_DIR}/perips/ #To-ADD: to add the simulatoin tool options
#SIM_OPTIONS := -o vvp.exec -I "${VSRC_DIR}/core/" -I "${VSRC_DIR}/perips/" -D DISABLE_SV_ASSERTION=1 -g2005
# This is a free solution here to use iverilog to compile the code. Please NOTE!!!!
#
# Note:
# Here we add a macro "DISABLE_SV_ASSERTION" to disable the system-verilog coded
# assertion in the RTL code because iverilog cannot support that syntax, if you
# use other EDA tools which support the systemverilog, you should not add this macro "DISABLE_SV_ASSERTION".
#
# Here we didnt add macro "ENABLE_TB_FORCE"
# that macro was used to enable the random interrupt and bus-error insertion to make
# more intensive test in e200_opensource/tb/tb_top.v.
# Although the test become more intensive, the drawback is it makes the regression
# simulation running very slower, so by default now it is turned off.
# If you want to turn on them without caring the the regression speed,
# you can just add macro `ENABLE_TB_FORCE` here in command line.
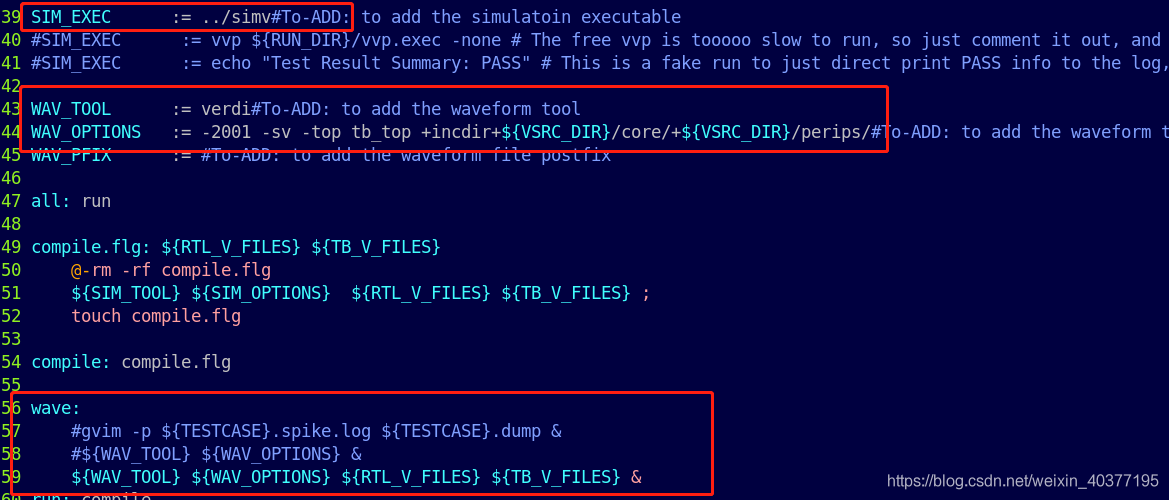
SIM_EXEC := ../simv#To-ADD: to add the simulatoin executable
#SIM_EXEC := vvp ${RUN_DIR}/vvp.exec -none # The free vvp is tooooo slow to run, so just comment it out, and replaced with the fake way below
#SIM_EXEC := echo "Test Result Summary: PASS" # This is a fake run to just direct print PASS info to the log, the user need to actually replace it to the real EDA command
WAV_TOOL := verdi#To-ADD: to add the waveform tool
WAV_OPTIONS := -2001 -sv -top tb_top +incdir+${VSRC_DIR}/core/+${VSRC_DIR}/perips/#To-ADD: to add the waveform tool options
WAV_PFIX := #To-ADD: to add the waveform file postfix
all: run
compile.flg: ${RTL_V_FILES} ${TB_V_FILES}
@-rm -rf compile.flg
${SIM_TOOL} ${SIM_OPTIONS} ${RTL_V_FILES} ${TB_V_FILES} ;
touch compile.flg
compile: compile.flg
wave:
#gvim -p ${TESTCASE}.spike.log ${TESTCASE}.dump &
#${WAV_TOOL} ${WAV_OPTIONS} &
${WAV_TOOL} ${WAV_OPTIONS} ${RTL_V_FILES} ${TB_V_FILES} &
run: compile
rm -rf ${TEST_RUNDIR}
mkdir ${TEST_RUNDIR}
cd ${TEST_RUNDIR}; ${SIM_EXEC} +DUMPWAVE=${DUMPWAVE} +TESTCASE=${TESTCASE} |& tee ${TESTNAME}.log; cd ${RUN_DIR};
.PHONY: run clean all
initial begin
    $value$plusargs("DUMPWAVE=%d",dumpwave);
    if(dumpwave != 0)begin
         // To add your waveform generation function
	 $fsdbDumpfile("ware.fsdb");
	 $fsdbDumpvars("+all");
    end
end
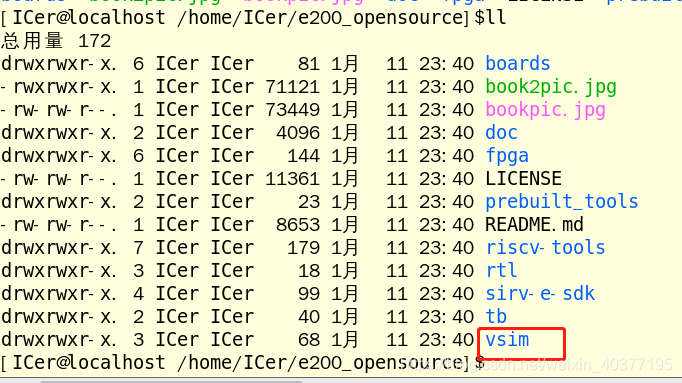
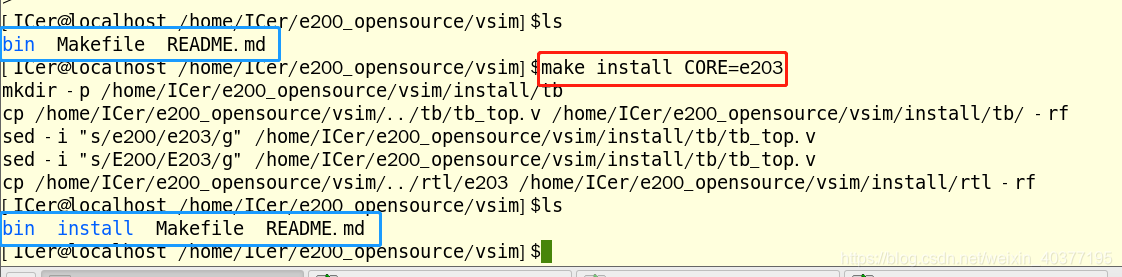
make install CORE=e203
make compile
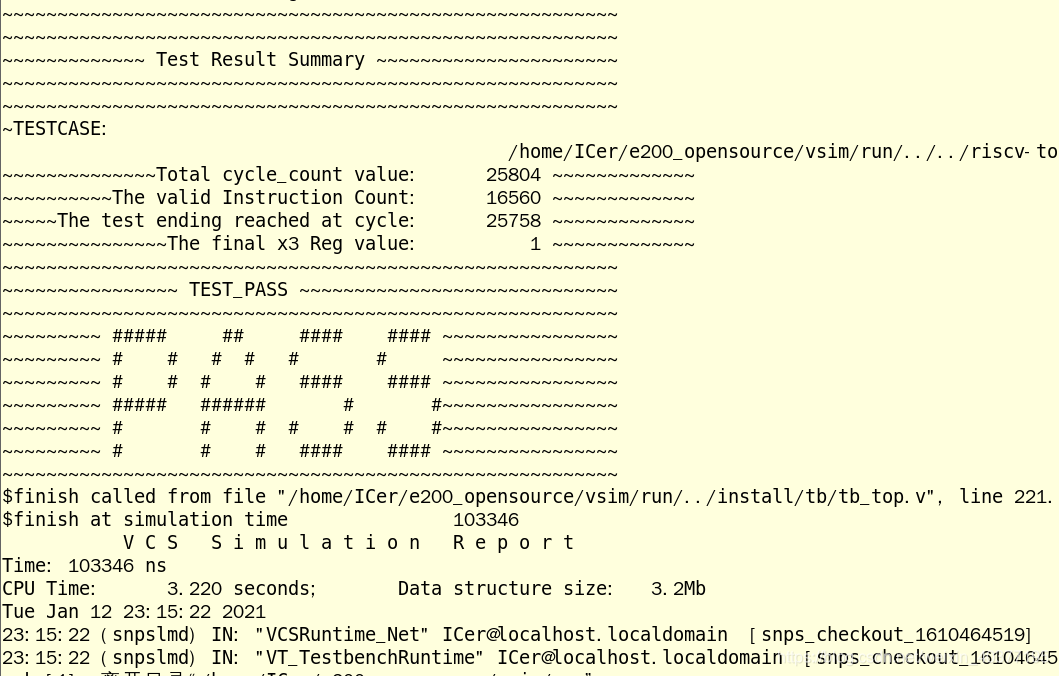
make run_test
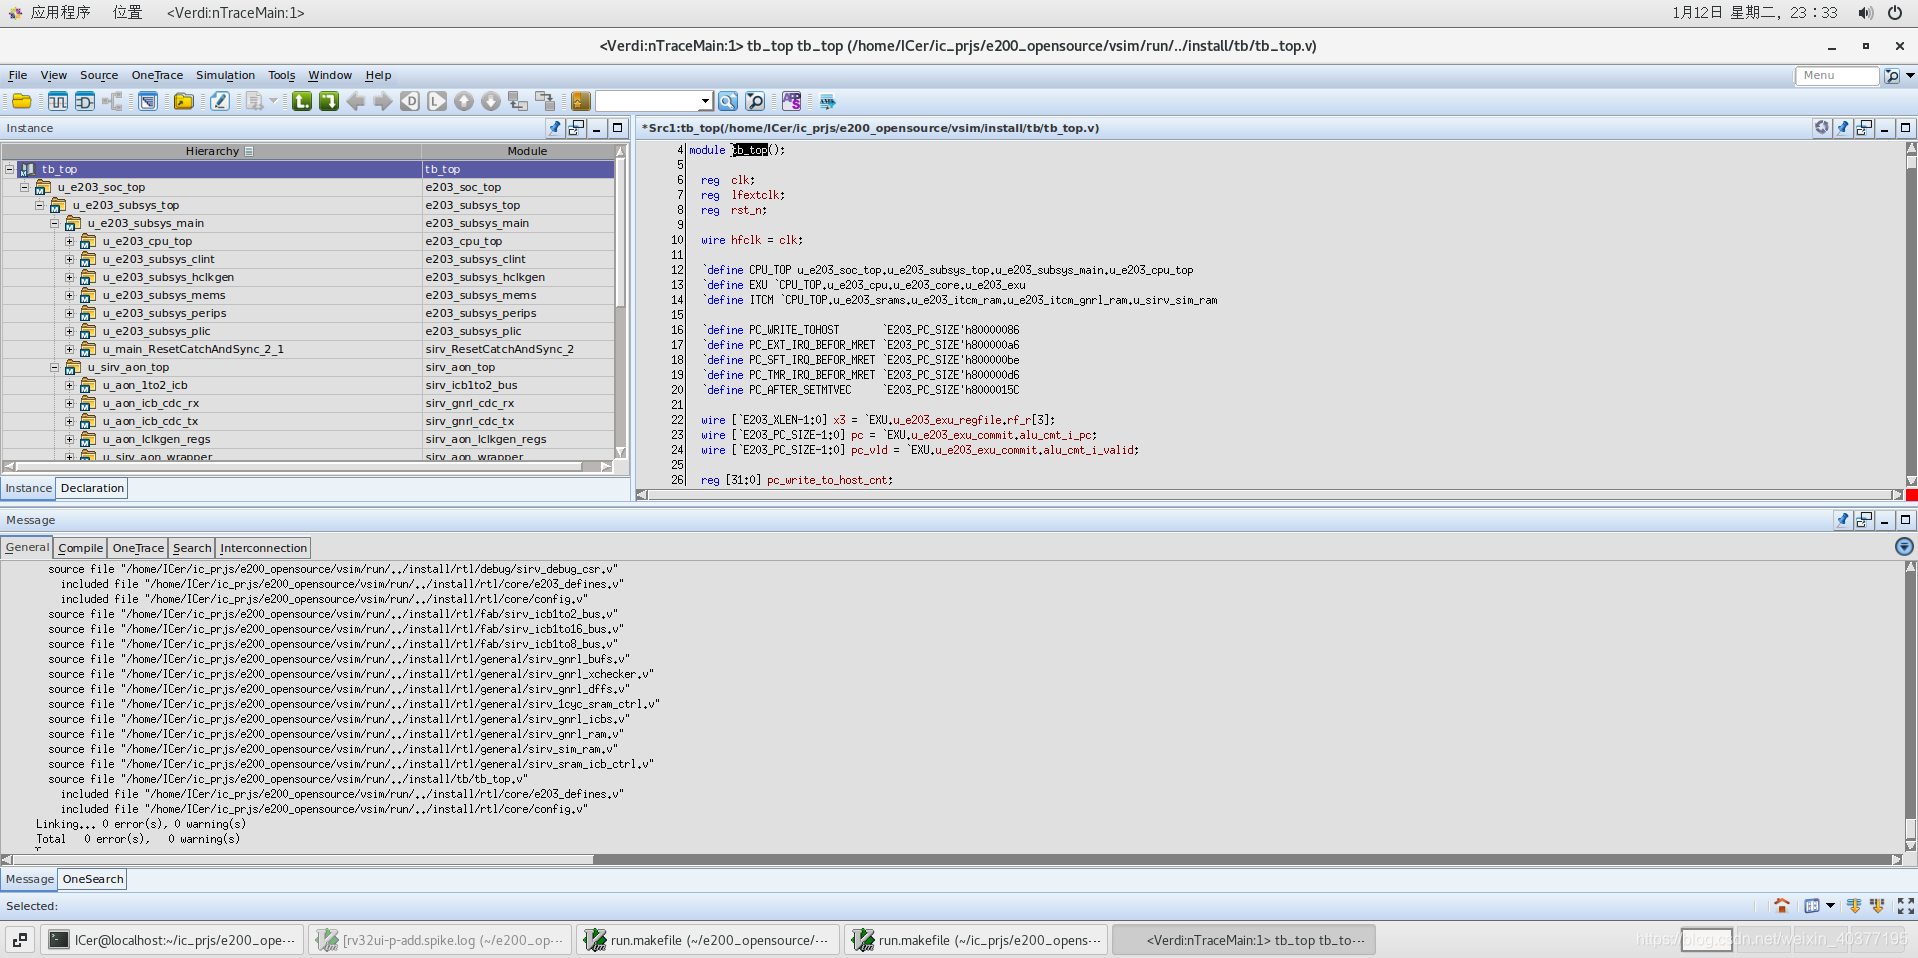
make wave